Riverbloom Cottage: Growing Native Plants from Home: Cuttings, Seeds, and Successful Transplants
- The Agricoutourist

- Jun 8, 2023
- 5 min read
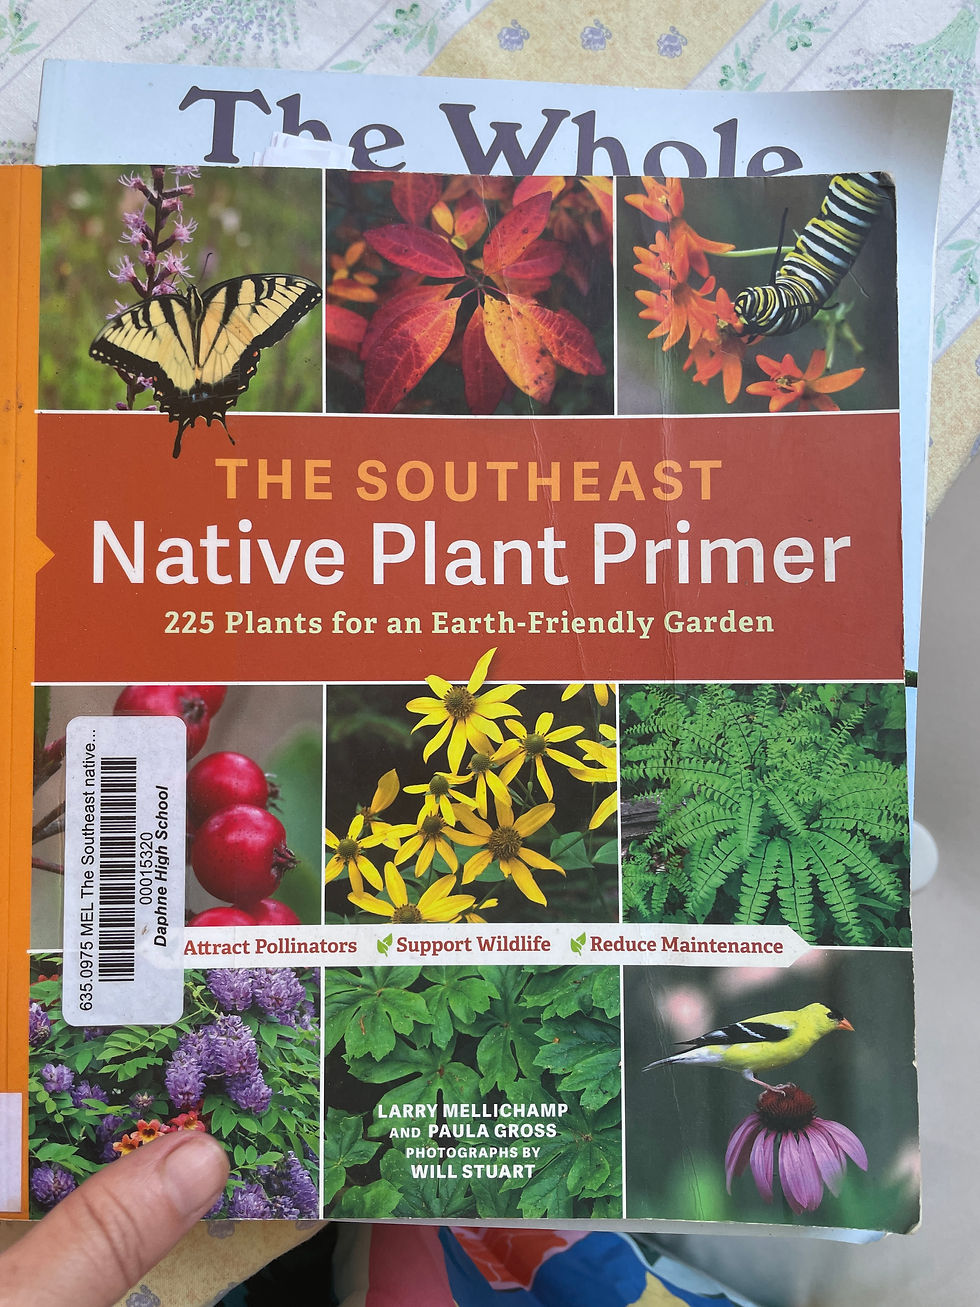
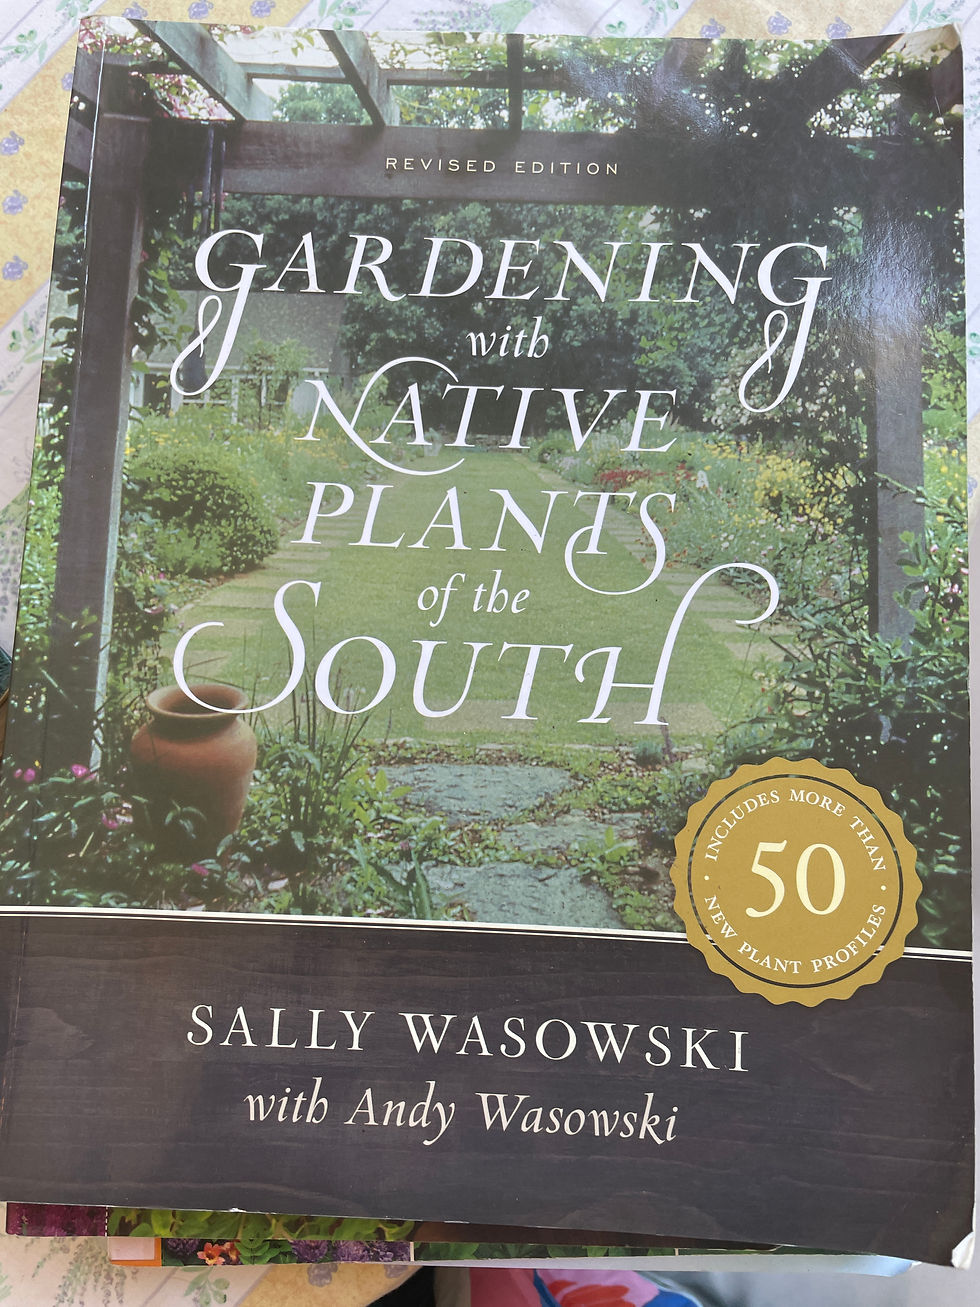
Native plants are a fantastic addition to any garden. They’re often hardier, more resilient to local pests, and require less water once established—perfect for eco-conscious gardeners. Best of all, you can easily propagate native plants at home using two primary methods: cuttings and starting seeds indoors. Below, we’ll explore how to get started, how to transition plants into your herb garden, tea garden, vegetable patch, or ornamental landscape, and tips for long-term success.

1. Why Propagate Native Plants?
Adapted to Local ConditionsNative plants have evolved to thrive in your region’s climate and soil. This often means less maintenance and fewer chemicals needed for plant health.
Supports BiodiversityNative flora provides essential habitat and food sources for local pollinators like bees, butterflies, and hummingbirds.
Cost-Effective & RewardingPropagating from cuttings or seeds is budget-friendly, allowing you to fill your garden for a fraction of the cost of nursery-grown transplants. Plus, there’s nothing quite as satisfying as watching a plant you started flourish in your yard.


2. Propagating from Cuttings
Many native shrubs and herbaceous perennials can be cloned from softwood, semi-hardwood, or hardwood cuttings. The best time to take cuttings depends on the plant species and growth cycle, but here are some general steps:
a. Gather Supplies
Clean pruning shears
Rooting hormone (optional but increases success)
Containers with drainage
Well-draining potting mix or a seed-starting mix (coir, perlite, vermiculite)
Clear plastic bag or a humidity dome
b. Take the Cuttings
Select healthy growth: Look for disease-free stems with a few leaf nodes.
Cut below a node: Aim for a cutting length of 4–6 inches (for herbaceous species) or 6–8 inches (for woody plants).
Remove lower leaves: Strip away leaves on the lower third to half of the cutting.
c. Rooting Process
Dip in Rooting Hormone: This can improve success rates, especially for woody cuttings.
Insert into Soil: Place the cutting into a moistened potting mix, burying at least one or two leaf nodes.
Maintain Humidity: Cover the pot with a clear plastic bag or place in a humidity dome. Vent occasionally to prevent mold.
Warm, Indirect Light: Most cuttings root best in bright, indirect sunlight (avoid harsh midday rays).
d. Patience & Care
Check Moisture: Keep the soil slightly damp but never soggy.
Monitor Root Development: After a few weeks, gently tug on the cutting. Resistance may indicate root growth.
Transplant: Once roots form and new growth appears, move the cutting to a slightly larger pot. Acclimate it gradually to outdoor conditions if you plan to plant it in your garden.


3. Starting Seeds Indoors
Some native plants (especially annuals and perennials) are easily started from seed. This method is cost-effective and lets you grow many plants at once.
a. Selecting Seeds
Buy Local: Sourcing seeds from local native plant societies or reputable seed companies ensures the varieties are well-adapted to your region.
Check Germination Requirements: Some native seeds need cold stratification (a period of cold, moist conditions) or scarification (scratching the seed coat) to encourage germination.
b. Germination Setup
Seed-Starting Mix: Use a sterile, lightweight mix to reduce disease risk.
Containers: Recycled containers, seed trays, or biodegradable pots work great—just ensure good drainage.
Light Source: Position trays near a sunny window or use grow lights to ensure seedlings get 12–16 hours of light per day.
c. Planting & Care
Moisten the Mix: Water the mix before planting.
Sow Seeds: Follow packet instructions. Often, native seeds are surface-sown or lightly covered, as some need light to germinate.
Maintain Moisture & Warmth: Cover trays with a plastic dome or wrap to retain humidity.
Thin Seedlings: Once seedlings sprout, remove weaker ones so the strongest have room to grow.
d. Hardening Off
Gradual Outdoor Exposure: Before transplanting, introduce seedlings to outdoor conditions for a week or two, starting with a couple of hours of shade and increasing sun exposure daily.
Protect from Wind & Cold: Bring them back inside if temps drop significantly or conditions are harsh.
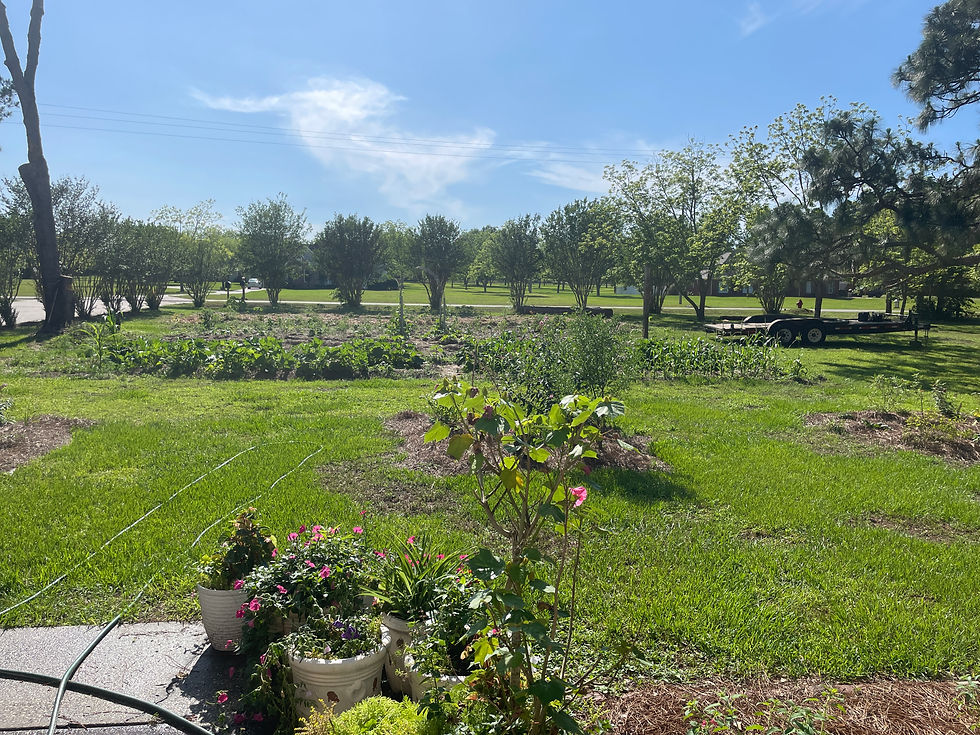
4. Transplanting Into the Landscape & Garden Beds
Whether you’ve rooted cuttings or nurtured seedlings, eventually it’s time to plant them in their permanent homes.
a. Location, Location, Location
Sun vs. Shade: Check each species’ light requirements. Place sun-loving natives in spots with at least 6 hours of direct sunlight.
Soil Preparation: Amend soil with compost if needed, ensuring good drainage for most native plants.
Spacing: Native plants often spread over time, so allow enough room for them to reach their mature size.
b. Herb & Tea Gardens
Many native herbs (like bee balm, echinacea, or mountain mint) not only look gorgeous but can be used in culinary dishes or herbal teas.
Planting: Group them together in your herb/tea garden for easy maintenance and harvesting.
Attracting Pollinators: These herbs often have fragrant flowers that lure beneficial insects—great for both the ecosystem and your garden’s productivity.
c. Vegetable Gardens
Interplanting native flowers or shrubs in or near your vegetable beds can improve pollination and deter certain pests.
Companion Planting: Consider placing pollinator-friendly natives like blanket flowers (Gaillardia) or sunflowers near your veggies.
Pest Control: Native predatory insects may be attracted by your plants, naturally keeping pest populations in check.


5. Long-Term Care & Maintenance
Water Wisely: Once established, most native plants only need supplemental watering during prolonged droughts.
Weed Management: Keep competition in check, especially while young plants are establishing. Mulch helps retain moisture and reduce weeds.
Pruning & Deadheading: Remove spent blooms to encourage reblooming or to tidy up. Some natives benefit from leaving seed heads over winter for wildlife food.
Disease & Pest Monitoring: While natives are typically resilient, keep an eye out for common garden pests. Use organic or chemical-free measures when possible.
6. Enjoying the Fruits (and Flowers) of Your Labor
One of the greatest joys of propagating native plants—whether from cuttings or seeds—is watching them take root and flourish. Over time, you’ll see pollinators making daily visits, and your yard will transform into a living tapestry of color and life. Plus, you’ll have the satisfaction of knowing you helped preserve local plant varieties and contribute to a healthy ecosystem.
Constant Learning: Each species has unique quirks, so you’ll become a mini-expert in your region’s ecology as you grow.
Sustainable Abundance: Many propagated natives can be divided or pruned for even more cuttings, expanding your garden or gifting them to neighbors.
A Delight for the Senses: Whether it’s harvesting mint leaves for tea or watching monarch caterpillars munch on milkweed, native plants enrich your garden experience.
Final Thoughts
Propagating native plants at home is a rewarding journey that benefits both you and the environment. You gain a beautiful, robust landscape; local wildlife enjoys a hospitable habitat; and your herb, tea, or vegetable garden thrives with natural, region-specific support. By starting with cuttings or seeds indoors, then carefully transplanting to their forever home, you’ll foster a sustainable, pollinator-friendly haven you can enjoy year after year.
Happy Gardening! May your cuttings root well, your seedlings spring up strong, and your garden buzz with the life of local wildlife. If you have any questions or experiences to share, feel free to leave a comment—I love hearing how other gardeners are helping native plants flourish!


Comments